Knives
How to Sharpen a Japanese Knife: Whetstone Basics, Explained from Japan
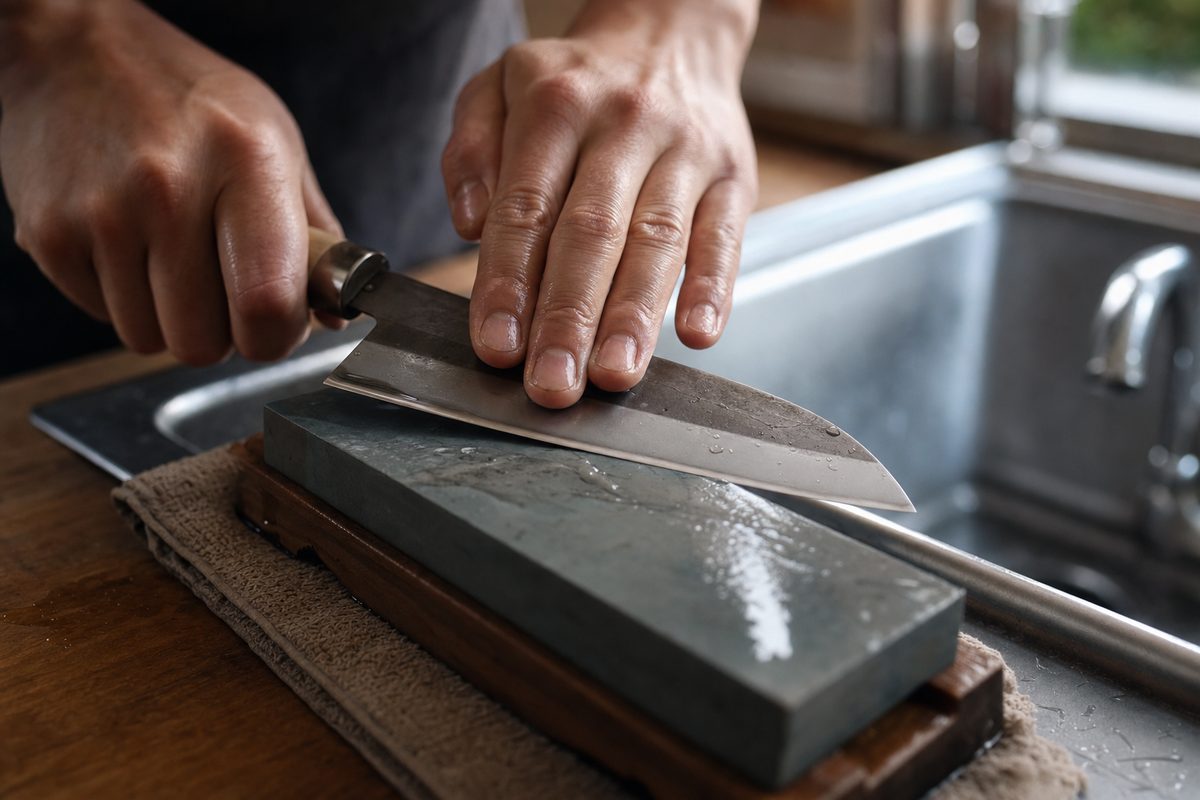
The entire sharpening setup at my in-laws’ house in rural Kyoto is one stone, kept under the sink, used maybe twice a month. That’s also the setup in most Japanese households. No jigs, no angle guides, no leather strops, no oil. A ¥3,000 waterstone and ten minutes of quiet scrubbing.
I say this because the English-language internet has turned sharpening into a hobby that requires a workbench and a YouTube apprenticeship. It’s not. If you bought — or are about to buy — your first Japanese knife, the maintenance side is far less intimidating than it looks. This is the version I actually learned growing up here, plus the vocabulary you need to buy the right stone.
Why Japanese knives need stones (and pull-through sharpeners are a trap)
Japanese blades are harder than most Western ones — that hardness is why they take a screaming edge and hold it. But hard steel is also slightly brittle, and the carbide-wheel type of pull-through sharpener works by tearing metal off the edge. On soft German steel, that’s crude but survivable. On hard Japanese steel, it leaves a ragged, chipped edge that dulls within days — and every pass eats blade life.
A whetstone, by contrast, abrades metal away gently and evenly. It’s the difference between sanding wood and snapping bits off it.
So the rule is short: Japanese knife → waterstone. Electric sharpeners and pull-throughs are for the knives you don’t care about.
The only stone you need to start
Whetstones are graded by grit, like sandpaper:
| Grit | What it’s for | Do you need it? |
|---|---|---|
| 200–600 | Repairing chips, reshaping | Not yet |
| 800–1200 | The everyday edge | Yes — start here |
| 3000–8000 | Polishing, refinement | Later, if you enjoy this |
A single #1000 grit stone covers ninety percent of real-world sharpening. The famous starter choice in Japan — the one sitting in an astonishing number of home kitchens — is the King KW-65 #1000/#6000 combination stone, which adds a finishing side for pocket money. Any equivalent combination stone from a Japanese maker works the same way.
Soak it in water until the bubbles stop (five to ten minutes), and it’s ready. That’s the entire setup.
The method, minus the mystique
1. Find the angle by feel, not by protractor. Lay the blade flat on the stone, then tilt it up until you could slide two stacked coins under the spine. That’s roughly 15 degrees — the Japanese edge. Don’t chase precision; chase consistency.
2. Sharpen in sections. Mentally divide the blade into three parts — tip, middle, heel. Hold the edge section against the stone with two fingers of your free hand, and scrub back and forth. Ten to twenty strokes per section.
3. Feel for the burr. This is the step beginners skip, and it’s the whole game. I know because the first knife I ever sharpened — my grandmother’s old santoku — got twenty enthusiastic minutes on one side, no burr check, and came out somehow duller than before. After working one side, drag your thumb across (never along) the opposite side of the edge. A faint, rough lip — like a hangnail of metal — means you’ve sharpened enough. No burr, keep going.
4. Flip and repeat. Same sections, same count, until the burr moves to the first side.
5. Chase the burr off. Alternate sides with progressively lighter strokes — five each, then three, then one — until the edge feels clean both ways. If your stone has a fine side, finish with a few strokes there.
6. Test on paper, not your thumb. A properly sharpened knife slices copier paper in a clean curl. If it snags at one spot, that section still has a burr.
Total time, once you’ve done it three or four times: about ten minutes.
The two mistakes that actually ruin edges
Everything else is refinement, but these two do real damage:
Rocking the angle. Lifting the spine higher on the push stroke and dropping it on the pull rounds the edge into a dull convex blob. Lock your wrist; move from the shoulders. Slow and boring beats fast and wobbly.
Sharpening a dry stone. The slurry — that grey muddy film that forms on a wet stone — is doing the cutting. A dry stone glazes over and burnishes instead of sharpening. Keep a wet cloth nearby and splash the stone whenever it starts looking dry.
And one non-mistake to relax about: you will scratch the blade face a little at first. Every home-sharpened knife in Japan has these scratches. Think of them as evidence of use.
How often?
For a home cook: once or twice a month on the #1000, with an optional weekly touch-up on a fine stone or ceramic rod. The real answer is “when tomatoes stop surrendering.” A sharp knife needs no pressure — the moment you notice yourself pressing, it’s stone day.
Between sharpenings, the maintenance is embarrassingly simple: wash by hand, dry immediately, never leave it wet in the sink. That habit alone outperforms any gadget. (It’s also why a single good knife lasts decades here — the steel is excellent, but the habits do half the work.)
Where to buy stones
Any of the Japanese makers — King, Shapton, Naniwa, Suehiro — will outlast your knife. If you’re ordering a knife from a Japanese specialty shop like Hocho Knife, add a stone to the same order; the shipping math works out better, and you’ll have the full setup on day one instead of putting it off for a year like everyone does.
Sharpening is one of those skills that looks like devotion from the outside and feels like brushing your teeth from the inside. Ten minutes a month, and it pays you back at every single dinner.
Coming next in this series: the stone I actually keep by my sink, and the two I regret buying. If you’ve already got a whetstone question, send it over — I answer everything.
— Sen
Want the short version?
The One-Knife Kitchen: how to choose and care for the single Japanese knife that replaces the block — free, printable, one page.
Send me the free guide →